In this seminar we were introduced to AVID Media Composer, with a brief catch up talk on editing techniques and conventions. We discussed the 3 stages of editing; assembly, rough cut and fine cut, and what each stage was for and why it was important to edit in this style. Assembly is important to just get all of the footage you want to use onto the timeline in a rough narrative to get the ball rolling to allow you to begin cutting the footage down and let the film take form. The rough cut is to begin to allow the sequence to take more of a structure visually, as well as to start syncing sound, music sequences and transitional effects. Finally, the fine cut allows you to getting every frame perfectly timed and carefully considered and finalise the colour correction, effects, soundtrack and text/credits.
After this, we began to learn how to use AVID Media Composer, starting off with the basics of how to get your footage onto the program. There are two ways of doing this on this software, the first way is by finding your footage and linking to AMA files. This links the footage to the computer that you're on which is a quick way of readying it to begin editing but should only be done when you're doing a small project that you'll complete without shutting Media Composer down or changing computer. The way you can tell if a file is imported or AMA linked is the AMA one's will have chains over the video icon.
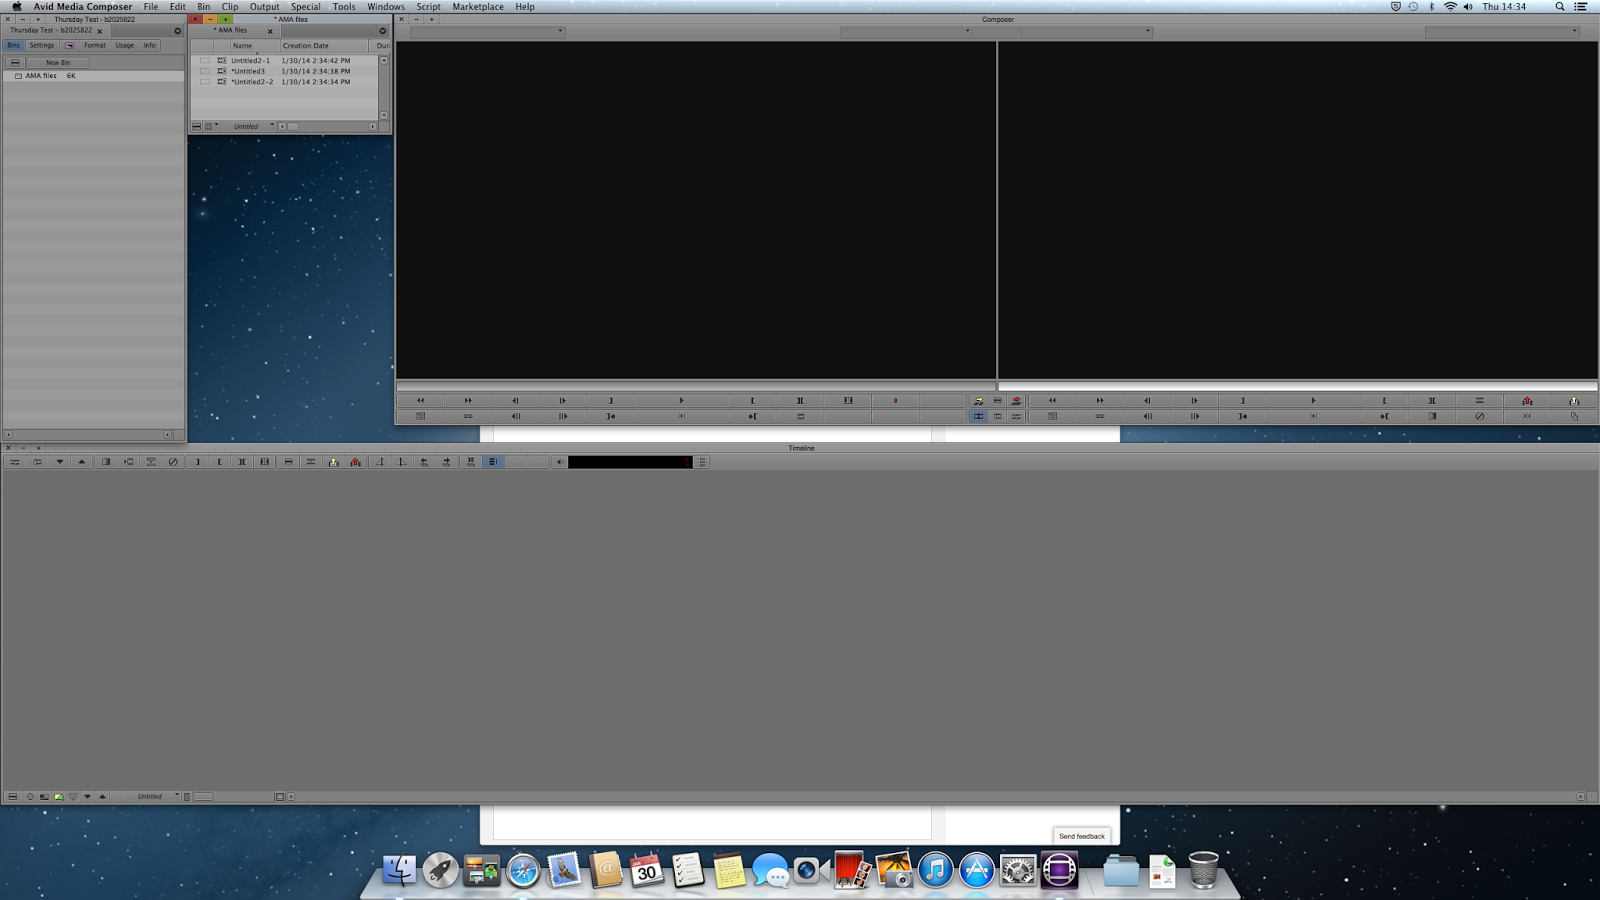 |
| Linking footage to AMA files |
The other way, which I will be using for all the post production projects in this semester, is to just import your footage. This turns it into MXF files in the Avid Media Files folder, which can be accessed from an external hard-drive's root directory.
We then moved onto creating bins, labelling files correctly and organisation as a whole.
After that we learnt how to add our footage into the timeline and how to select what parts we wanted in or not by setting markers on the view window and either pressing the red override arrow or the yellow splice in arrow to get it into the timeline.
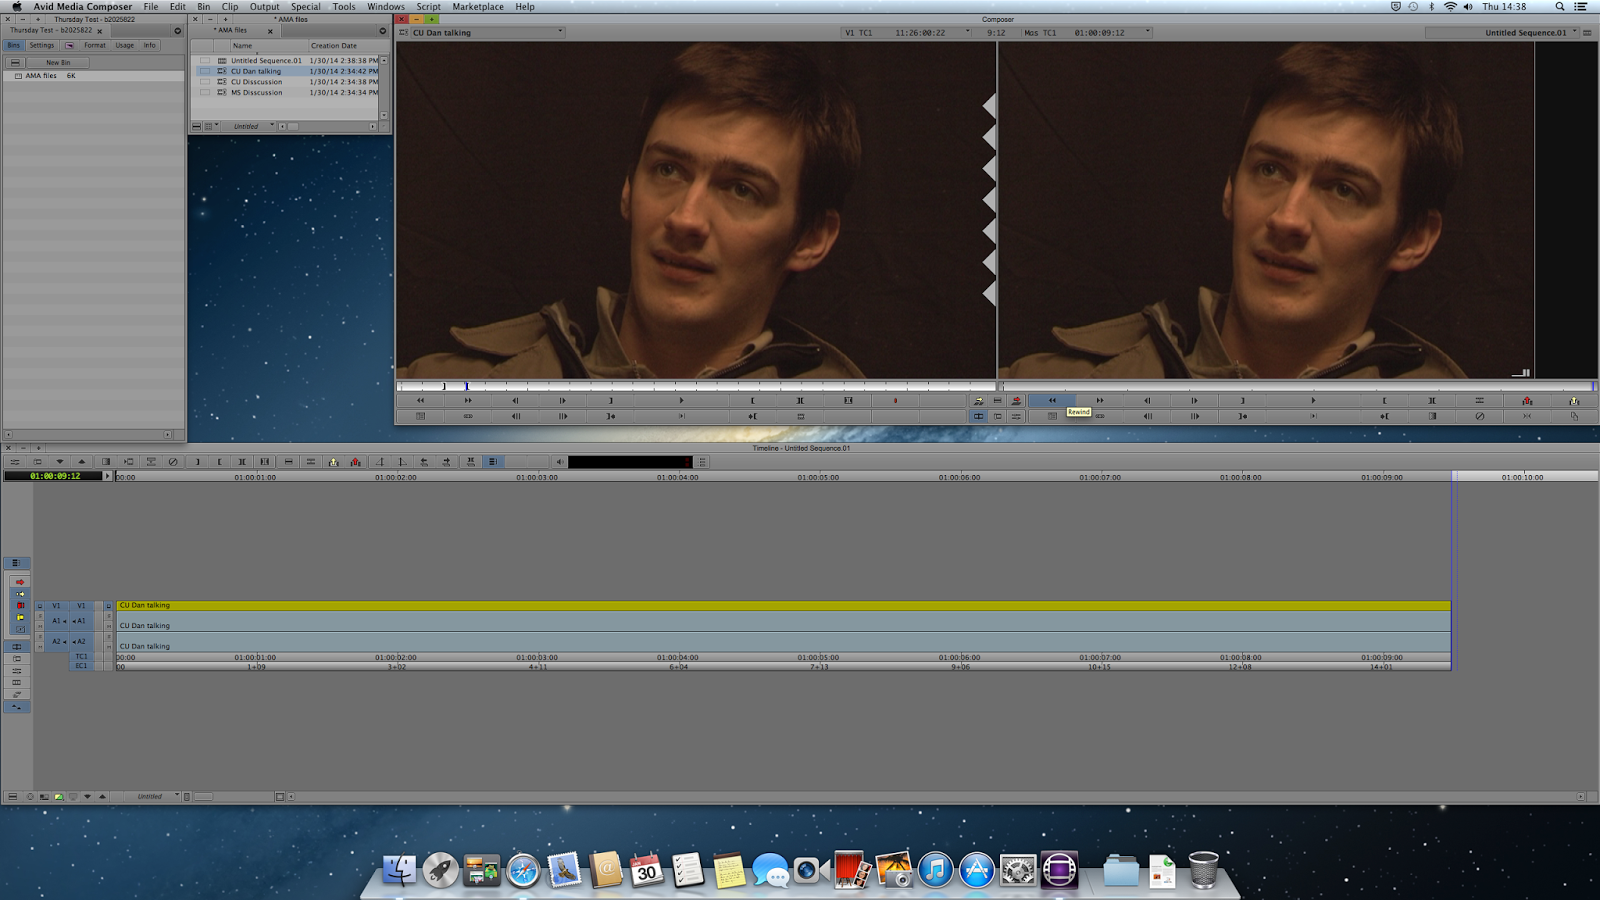 |
| Using override to put footage into the timeline |
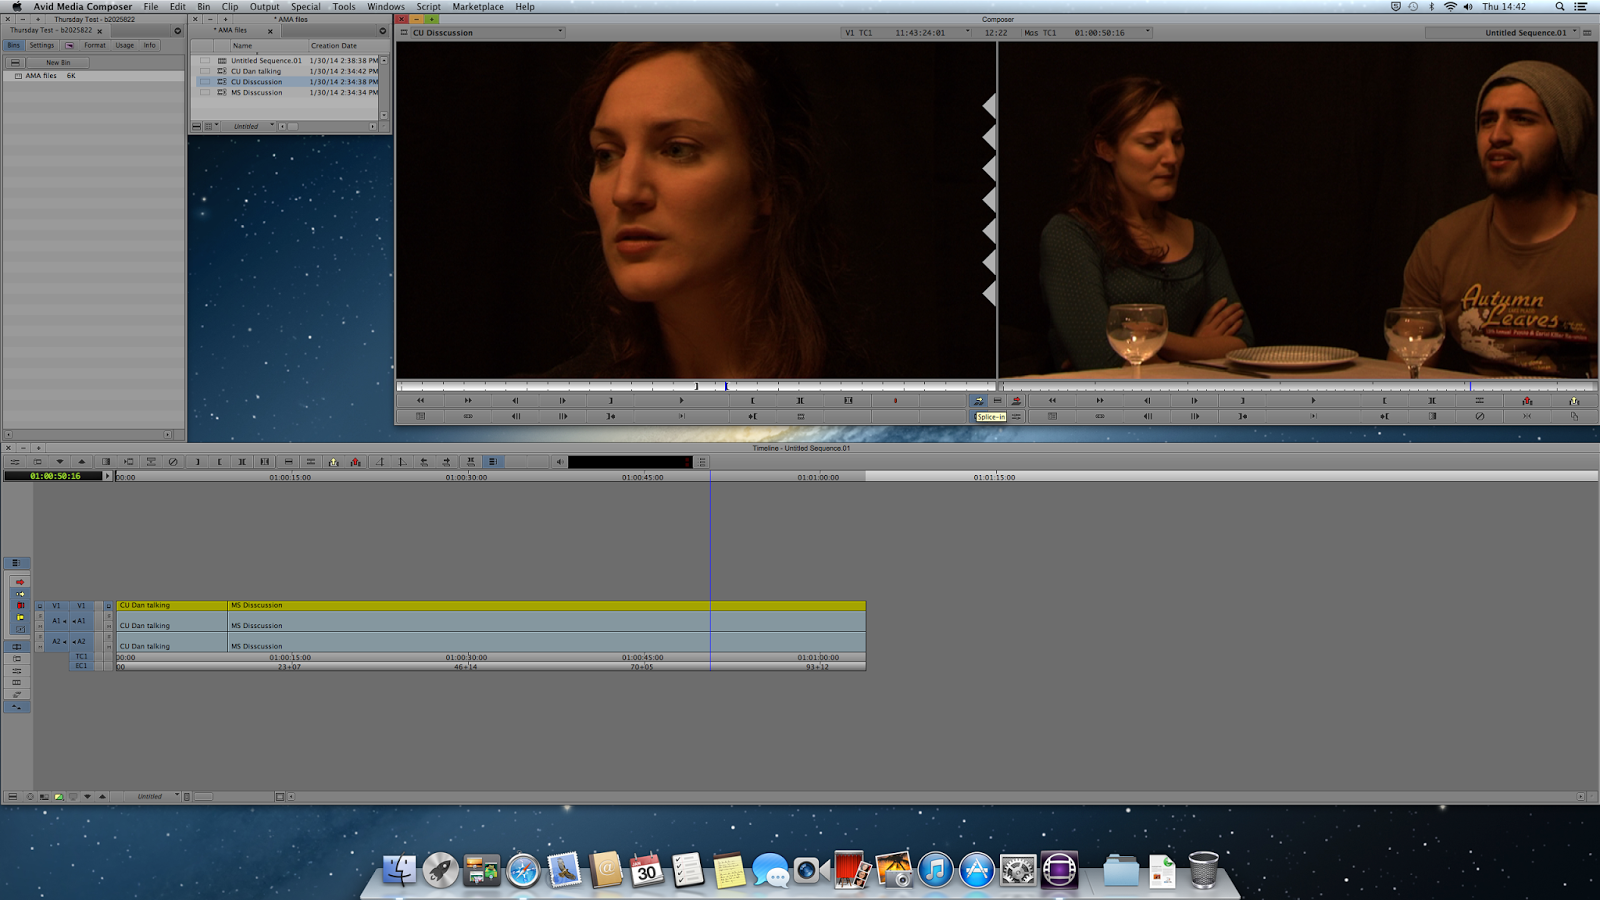 |
| Splicing footage into timeline (before) |
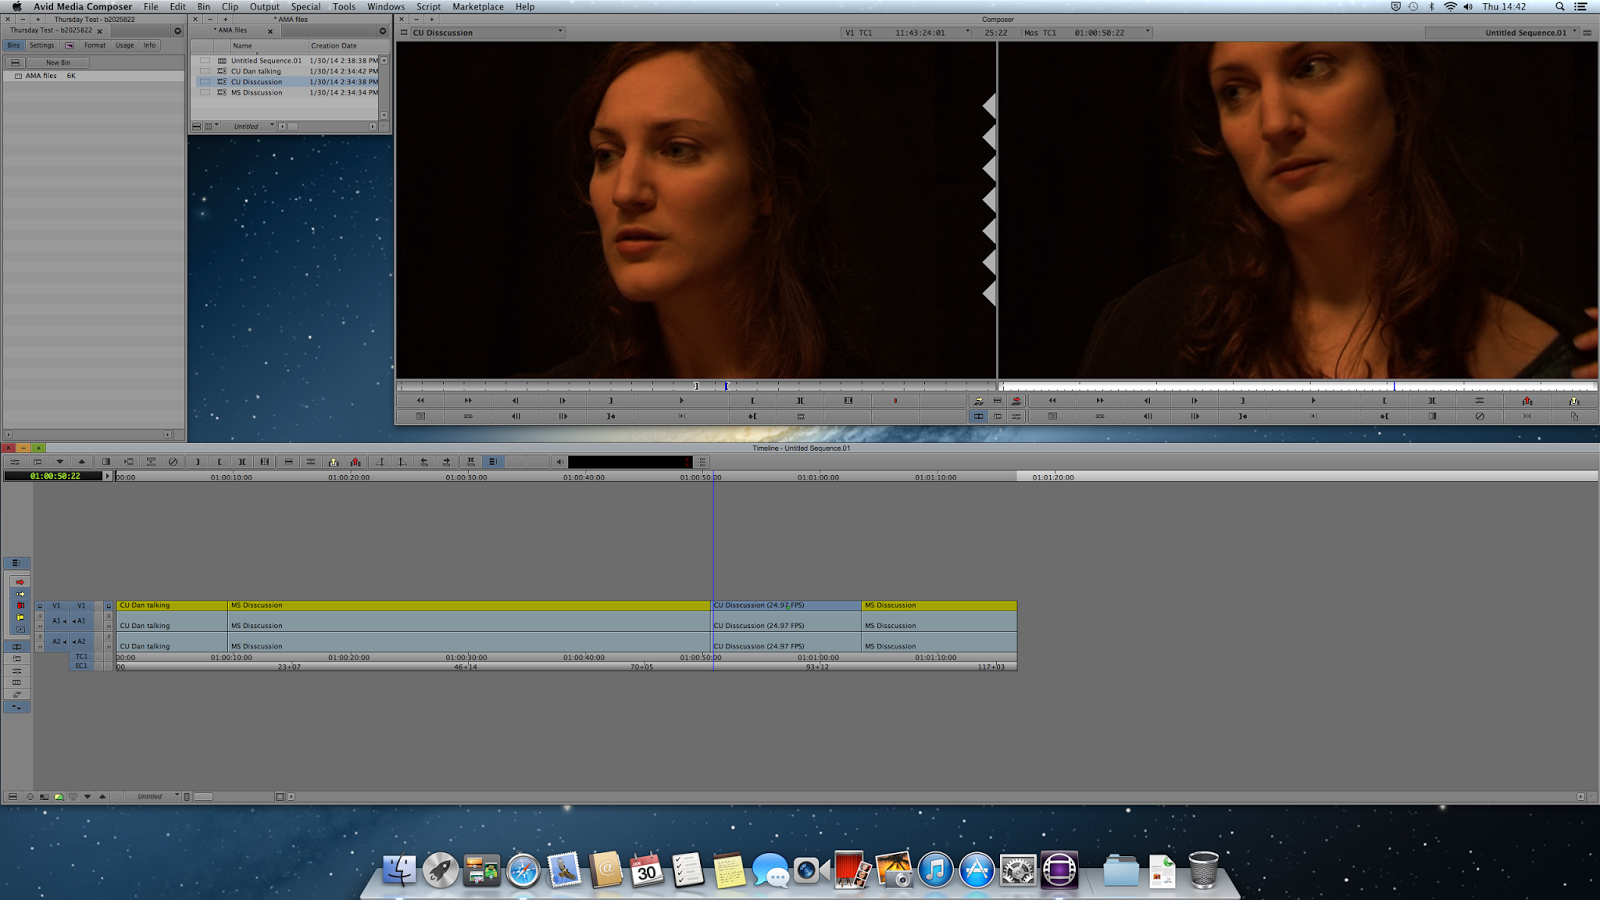 |
| Splicing footage into timeline (after) |
The next thing was how to edit footage in the timeline which got a little more complex. We started simply by extracting footage out using In and Out points again.
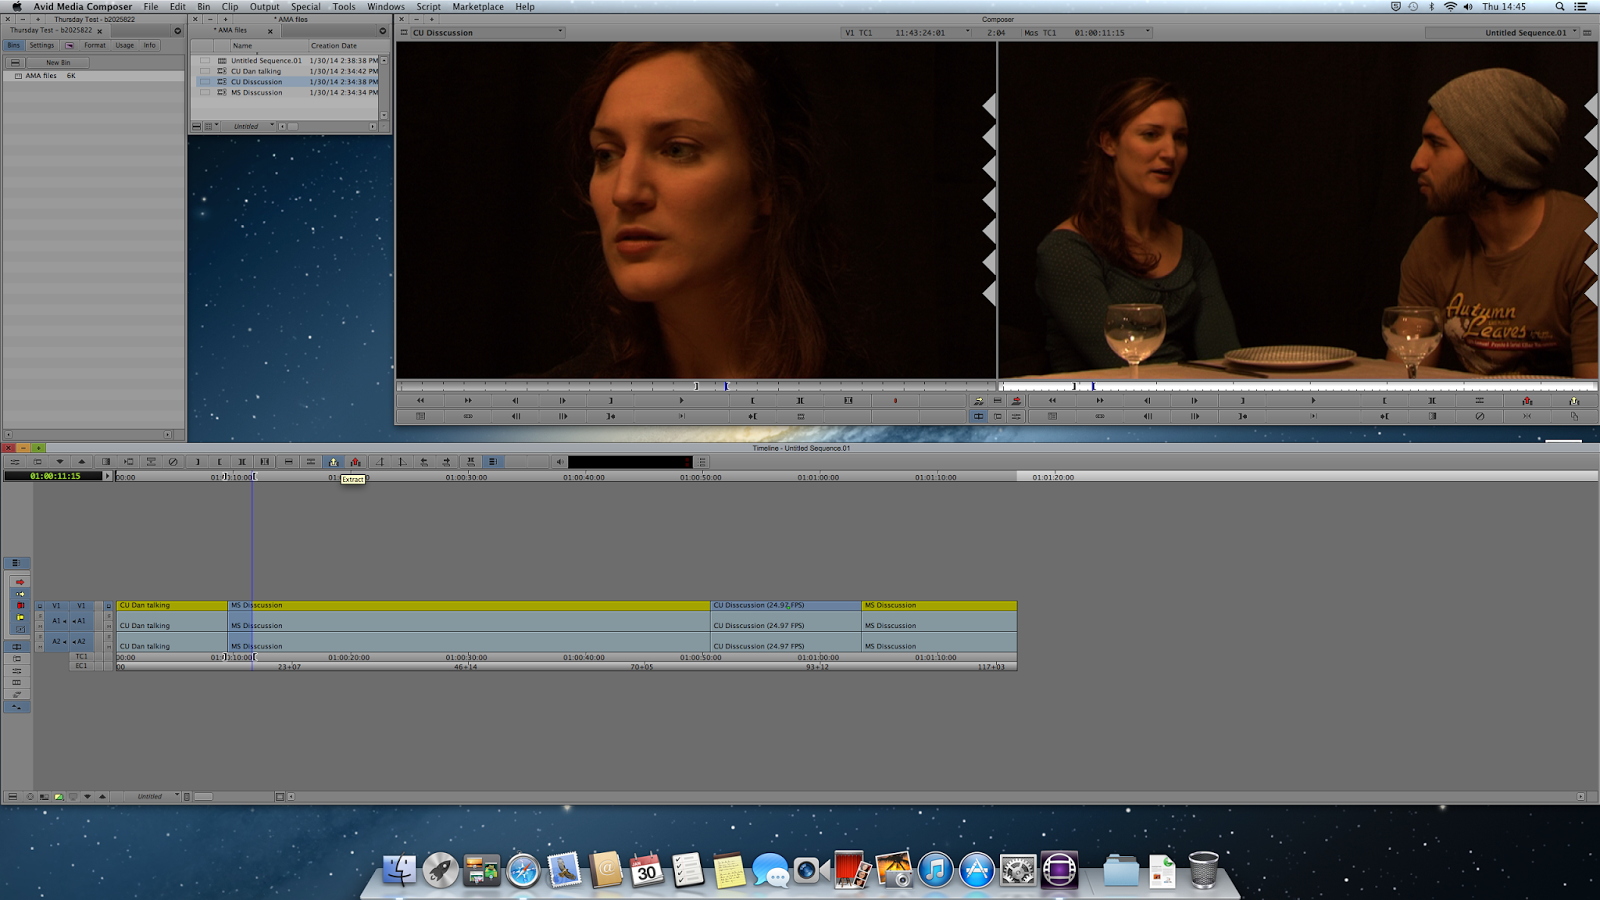 |
| Extracting from the timeline (before) |
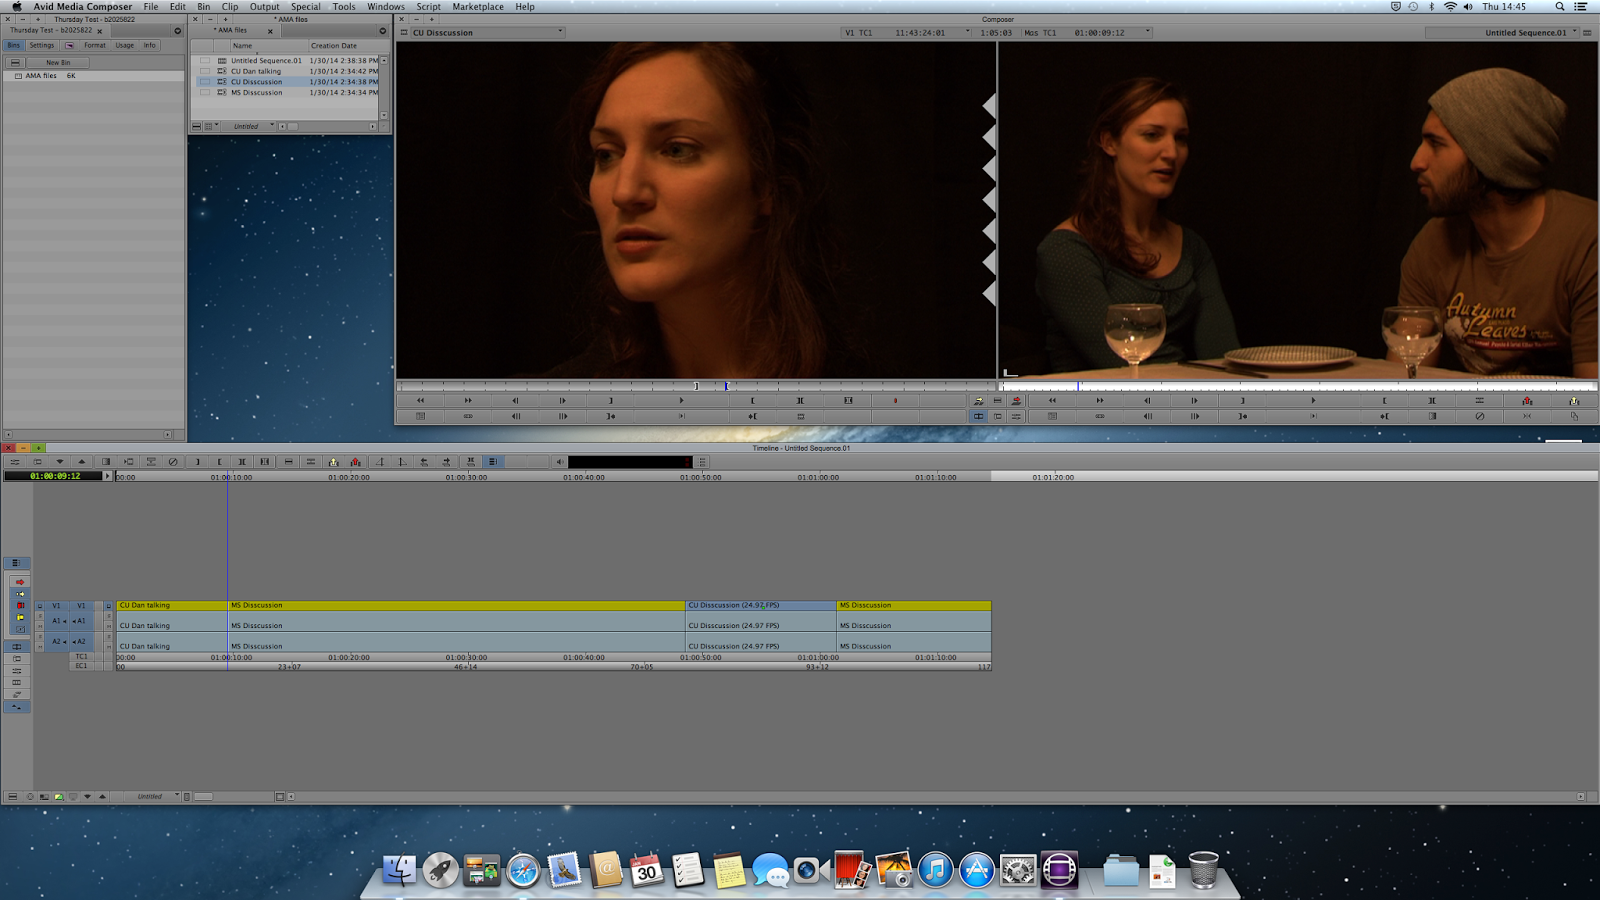 |
| Extracting from the timeline (after) |
Another way of chopping up footage in the timeline was by using trim mode, instead of being in source-record mode like we were for the rest of the editing. Trim mode allows you to cut up the clips much like final cut and is mainly used in the rough cut/ fine cut stages of a project.
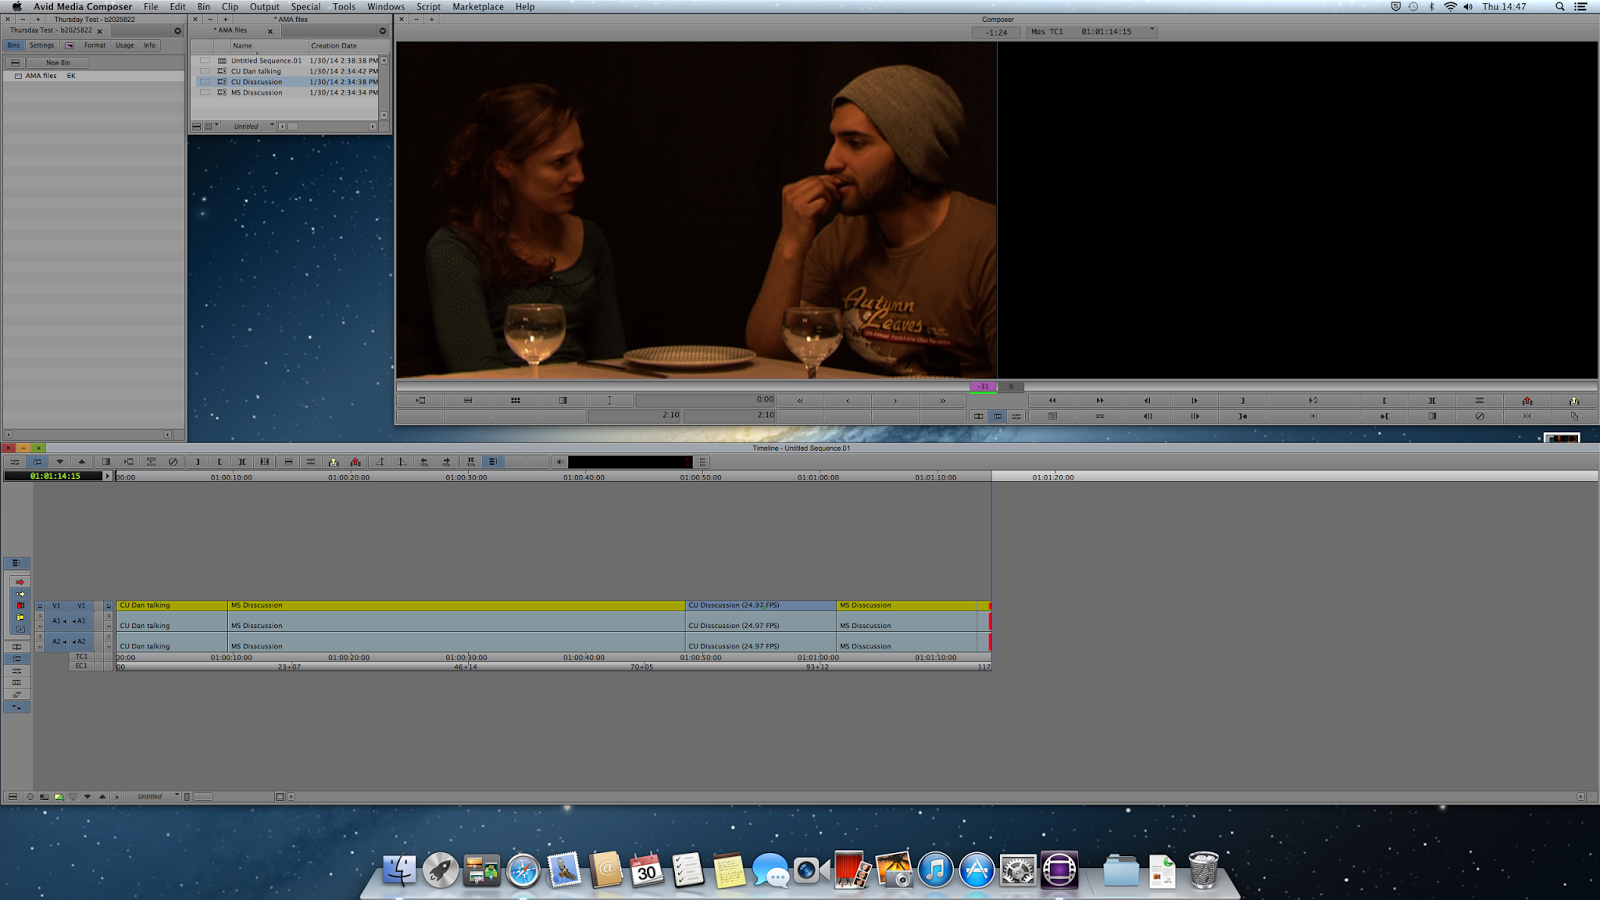 |
| Using Trim mode |
The final thing we went over was a brief look at the last mode on Media Composer, effect mode. This was only a brief introduction on how to use it as it is also only really used at the fine cut stage of a project. We were shown the basics of the effects pallet and what to expect when we were shown it in more detail in the next seminar.
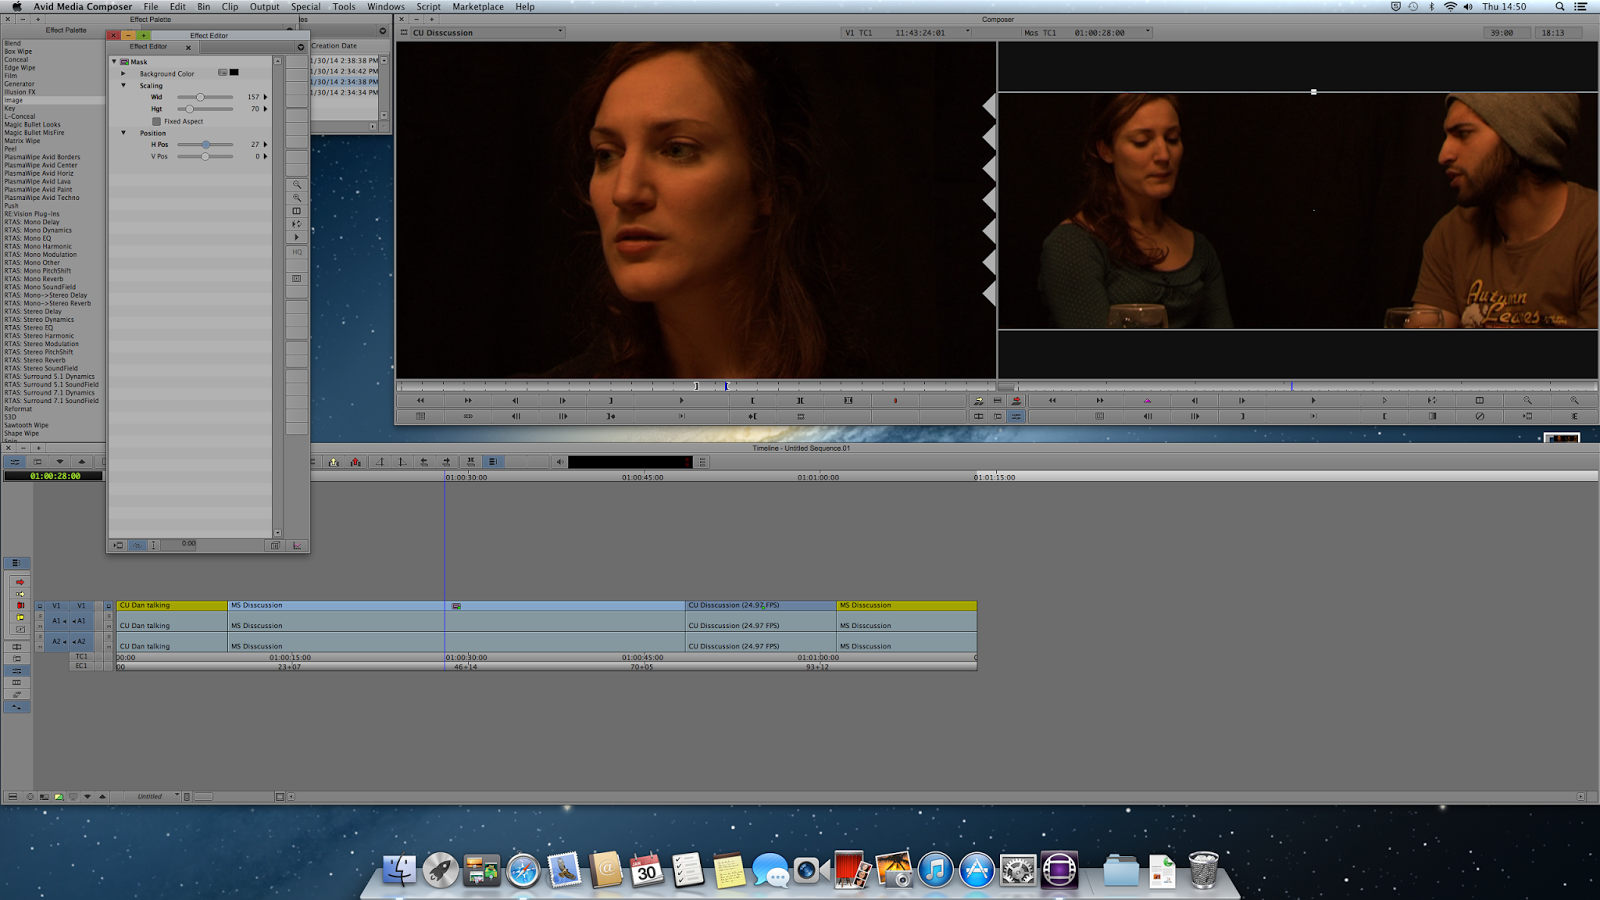 |
| Effects Mode |
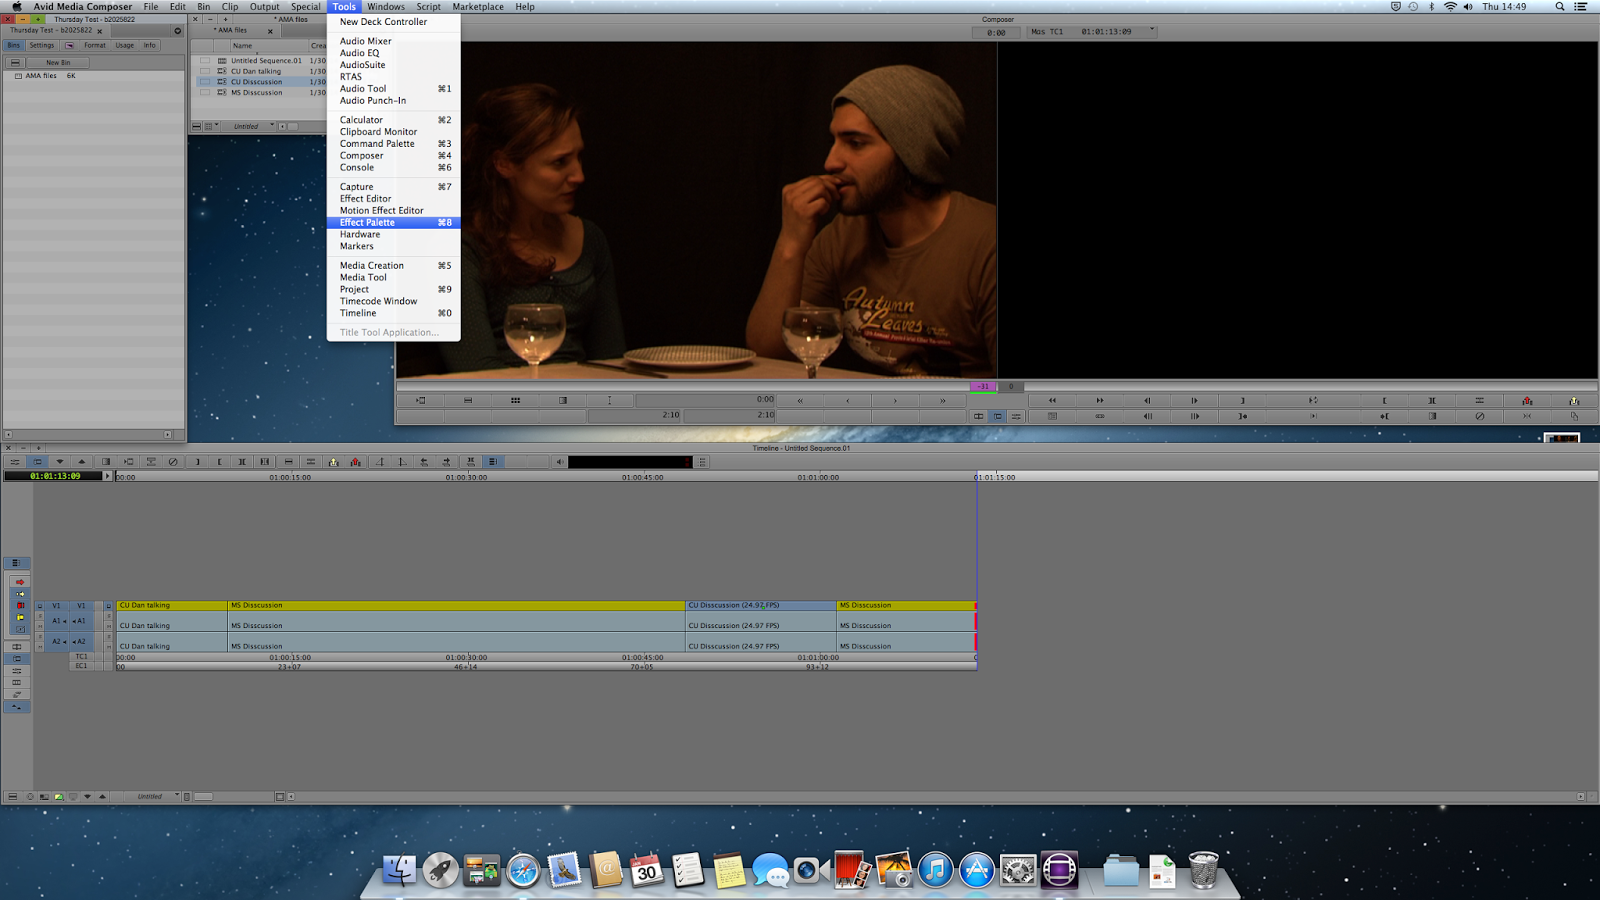 |
| Effects Pallet |
The first piece of work we were set was to edit a 5 minute documentary on footage we had never seen before from a past student project. The footage is about a spoken word poet called Adi and the Sheffield poetry scene in general. As we have never seen this footage before and don't know a lot about the subject matter either, its going to be a real challenge to create a strong and tight documentary from it, but as editors, it is our job to make the film come together and flow like a film and not just feel like a poorly put together montage. In our groups of two we'll begin the first assembly with the footage we've got soon after organising the footage into bins, and start to construct a narrative.


